
Adorn Your Beautiful Nails With An At Home Gel Nail Polish!
Women wondering if it is a good idea to do a gel manicure at home shall be assured that there cannot be anything most satisfying to do in their self-care routine. One of the many reasons for choosing at home gel manicure is that it’s less expensive than going to the beauty salon, especially if you are someone who likes getting their nails done regularly. Investing in an at-home gel manicure kit saves you a lot of bucks and trips to the salon, along with getting the colour and finish of your choice.
Getting a regular manicure has been a staple self-care routine among women since their early twenties, and they get in the habit of not heading out without having proper nails. Even during the times when women feel low, shaping their nails and applying fresh nail polish can instantly uplift their mode and make them feel good and confident about themselves. Hence, this is among the many reasons you should own the best at-home gel manicure kit to use anytime you wish.
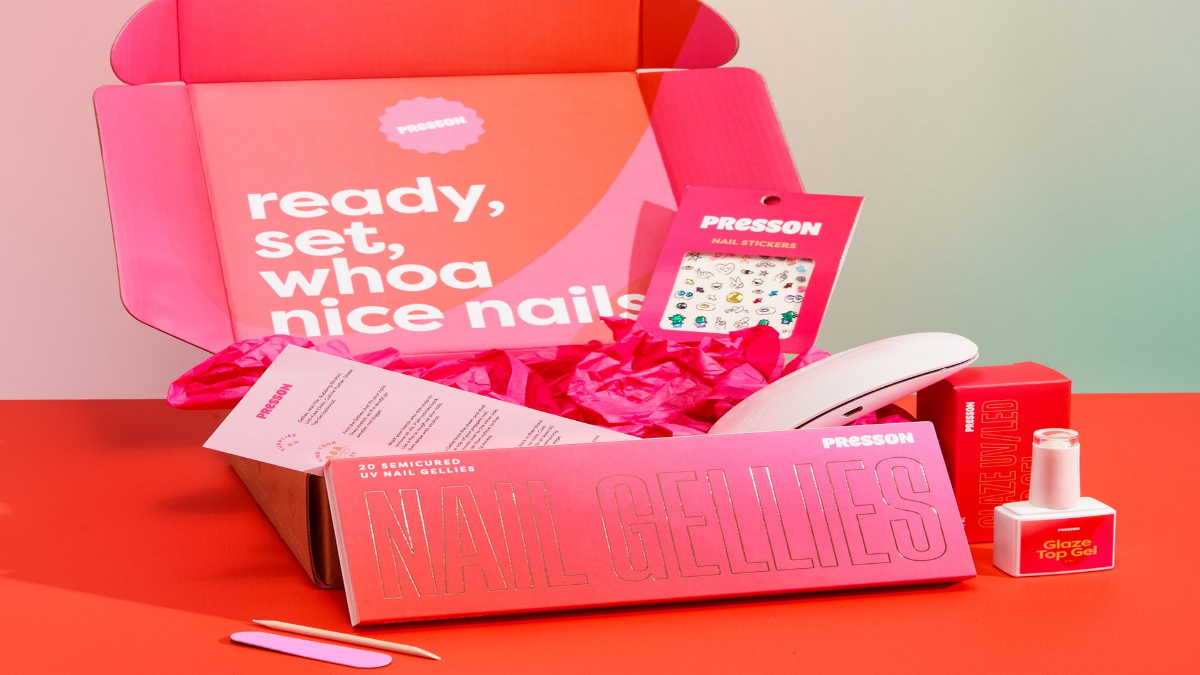
What are the products required for getting gel nails at home?
- UV or LED lamp.
- Cuticle oil.
- Nail buff.
- Top coat.
- Base coat.
- Gel nail polish.
Women wondering if they can replace the gel nail polish with the regular one shall not do that as the regular nail polish will not last as long as the gel one, even if they apply a gel coat on top of their regular nail polish.
Let us dive deeper and know how to work with your nails using the at-home gel nail kit:
1. Shaping and buffing the nails
The nail filer or buffer present in the nail kit should be used around the edges of your nails to create the desired shape of your nails gently. This step is usually essential when you wish to have almond or round-shaped nails before going further.
2. Nail Cleansing
To carry out the cleansing of your nails, you must have a bottle of nail cleanser, nail paint remover/ rubbing alcohol, and a paper towel. Dip a small piece of paper towel into the nail paint remover and start wiping down each of your nails with the paper towel. Do not forget to pay more attention to the edges and around the cuticles to remove the excess of previous nail paints or oils.
3. Apply Base Coat
Apply a thin layer of gel base coat on your nails and complete the entire application on the one hand at a go to prevent any scratches or mishaps. Do not forget to make sure that all the nails get an even light distribution of the base coat.
4. Choose Your Nail Polish
As done earlier with the base coat, start applying your favourite nail polish with the thin layer on all the fingers of one hand at a go. Cure the nail polish for at least 30 seconds on each finger before moving to the next. After completing one hand, if you wish to add another quote on all your fingers to make the shade a little darker, go ahead and add an extra layer of nail polish.
5. Top Coat
The topcoat is primarily applied to secure the nail polish and make it last longer than regular nail paints. This is why after applying the top coat on all the nails of one hand at a go, wait a little bit longer to let it cure. Finish off the top coating on the other hand and let it settle on your nails.

