

How to Record MIDI Data with A MIDI Controller and A DAW
Have you ever wondered how all those sick beats and marvelous melodies you hear in your favorite songs get made? A big part of the magic is MIDI. Recording MIDI is using your computer like a fancy note recorder. It writes down every key you play on your MIDI keyboard or synthesizer.
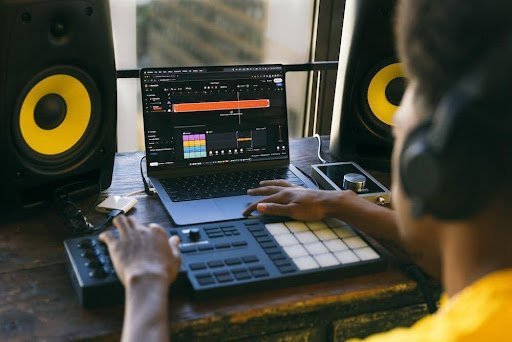
As long as your MIDI controller is hooked up to your DAW (digital audio workstation), you can access a whole virtual recording studio on your screen. In your DAW, you can select different virtual instruments, like piano, guitar, bass, drums, etc., and trigger them by tapping keys.
This guide will take you through connecting your MIDI hardware to your DAW so you can start layering down some MIDI tracks. By the end, you’ll have the basics down to become the next big name in beats. Just grab your MIDI controller, open up your DAW, and get to lay down some MIDI notes.
1. Understanding the Basics
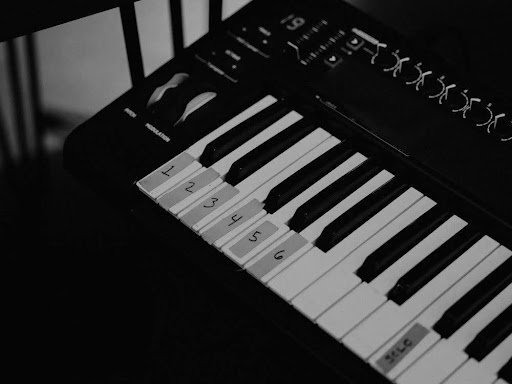
It’s good to know a few basic things before recording some sweet MIDI beats using a keyboard synthesizer. MIDI stands for Musical Instrument Digital Interface. It’s like a language that lets keyboard synthesizers, drum machines, and all that connect to computers link with each other. A DAW, or Digital Audio Workstation, is a program for your laptop or PC that lets you record audio, tweak sounds, and layer tracks. All that good studio stuff is right at your fingertips.
DAWs can also grab MIDI info from pads or keys to trigger virtual instruments or adjust settings. Once you’ve got a MIDI controller hooked up to your rig and some DAW software, you’re in business to play and capture MIDI performances to craft your digital tunes.
2. Confirm MIDI Compatibility
The first thing to check when setting up your new MIDI controller is compatibility checks to ensure it will get along with your music production software. Most of the time, everything plays nice together, but it’s always good to be sure yours will, too, before diving in. Whether it’s the manual that came with your gear or a quick search online, take a look to verify your DAW officially supports linking to that controller.

3. Establishing Connection
To physically connect your MIDI controller to the computer, use a standard 5-pin MIDI cable. One end connects to the MIDI output of your controller, and the other to a MIDI input on your computer. Most computers have MIDI ports, but you may need a USB or Thunderbolt MIDI interface if your computer lacks ports. Install any necessary drivers for the interface before proceeding.
4. Configuring MIDI Settings
Once everything is plugged in, open up your DAW’s preferences. You’ll want to find the MIDI settings. It’s usually under something like “devices” or “ports.” Most of the time, your DAW will automatically recognize the new hardware, but it always helps to double-check that your controller is listed as an input. If you see multiple options for controllers, go ahead and select yours.
After that, it’s time for a test drive to ensure everything is communicating correctly. Try pressing a key or adjusting a knob on the controller and look in your DAW to see if it’s registering the signal. Maybe pick a sound and twist the filter knob to get a feel for how your hands-on tweaks will translate in the software.
As long as everything lights up and responds as it should, you’re all set to start playing, programming and producing without switching back and forth between your controller and mouse/keyboard.
5. Mapping MIDI Controls
The next step is hooking your new controller to your DAW and making the magic happen. Then assign all those knobs, sliders, buttons, and pads on your controller to your music production software within your DAW. This lets you use your physical instrument to dial in virtual instruments and effects instead of clicking and dragging with a mouse. Don’t worry if it seems confusing. Every DAW and controller combo is slightly different, so check the manuals for your specifications.
Take a minute to thoughtfully map everything out in a way that makes intuitive sense for your workflow. You may want to tap the pads to trigger drum samples while a slider controls the reverb level. Play around until tweaking the knobs feels like conducting a symphony. Properly setting up your control surfaces is critical to unleashing your inner producer, so invest some time upfront for a significant payoff.
6. Recording MIDI Data
First, to start recording MIDI data, ensure your MIDI track is armed for recording in your DAW. This prepares the track to capture incoming MIDI messages from your controller. Next, locate the record button, usually a large red circle. When you press this button to start recording, any notes or controller movements you perform will be recorded in real-time onto the MIDI track as event data. This appears visually as musical notes on the track.
7. Editing MIDI Data
MIDI data is represented visually in your DAW as notes on a musical staff or piano roll editor. Use the selection, cutting, copying, and pasting tools to adjust. For example, you can move notes earlier or later in the timeline, change note durations, correct wrong notes, and more. Zoom in close for precise edits. Quantization can automatically align notes to the musical grid for a polished, on-beat feel.
Conclusion
You can create a super combo by linking your MIDI controller and DAW. A combo for recording MIDI data to enable you to unlock your hidden composer and elevate your production in recording MIDI data.

