
Creating vibrant digital art is like casting spells on a blank canvas. With Procreate, an app that’s the wand of choice for many modern artists, you have the entire spectrum of colors at your fingertips. But wielding that colorful magic requires more than enthusiasm; it demands knowledge and practice. If you’re a fledgling wizard in the world of digital art or a seasoned paint-slinger looking to hone your technique, this is your glyph for the day—unveiling the enchanting process of coloring a page in Procreate.
The Paint on Your Palette: Understanding Procreate’s Color Tools
Before you start splashing, get to know your tools. Procreate is furnished with an array of color features designed to make your art pop. Here are some spells to familiarize yourself with:
Procreate’s Palette:
The app comes with a standard adaptable color palette that allows you to switch colors quickly. Save your favorite hues and access them with a tap while doing your Procreate coloring pages. Remember, a well-organized palette is like having your potions shelf ordered—the right color at the right time can be as crucial as adding just a pinch of salt in a recipe.
Color Pickers:
Procreate offers several ways to select colors, including a traditional color picker and the ability to create your custom color swatches. Agreeable, isn’t it, that a wizard can make their own magic brew?
Blend Modes:
Once colors are on your canvas, Procreate’s blend modes allow them to interact in fantastical ways. Experimenting with these modes can conjure various magical effects, from lighten to multiply, creating differences in light and shadow that can add depth to your art.
Now you’re all set with your paints and potions arranged neatly. It’s time to mix colors and fill the digital world with your vibrant imagination.
Step-by-Step: The Art of Coloring in Procreate
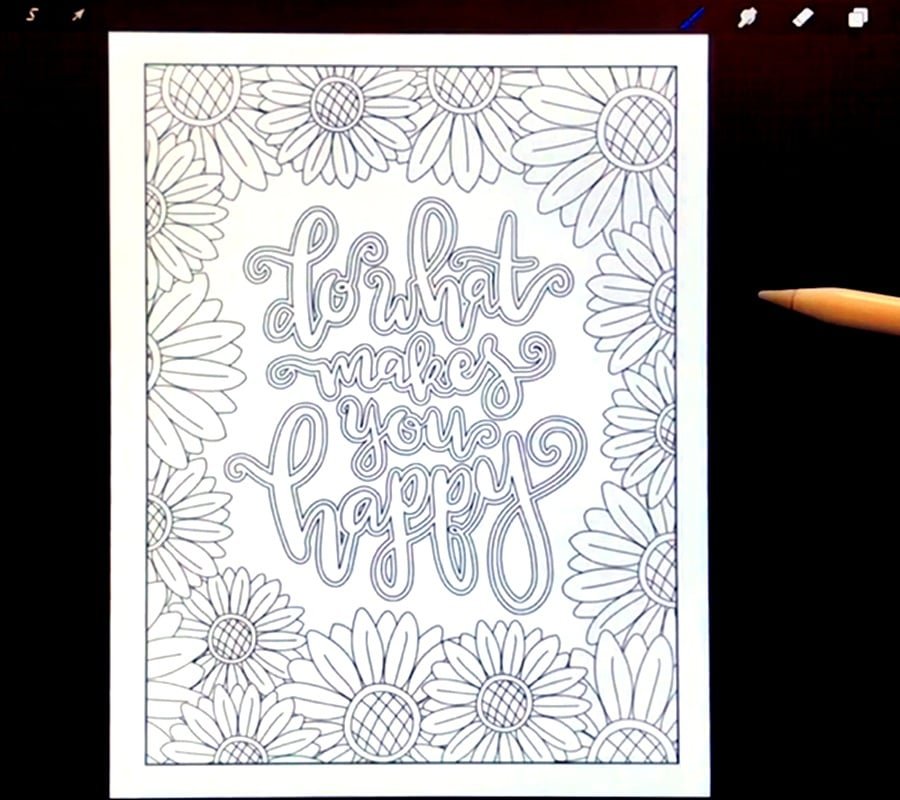
Step 1: Preparing Your Sketch
No wizard begins a spell without first preparing their chants and incantations. In Procreate, that means starting with a sketch. Make sure your sketch is on a separate layer from your color fills, which will make editing and adjusting later on far easier.
Step 2: Creating a Color Layer
Before you start coloring, create a new layer for every major color group in your image. Keeping colors segregated into their own layers can be a lifesaver later when you’re adjusting just one aspect of your art.
Step 3: Filling Your Base Colors
Use the selection tool to outline the section you want to fill with color. Then go to the ‘Color’ tab and tap once inside your selection to fill it with color. Think of this as creating a magical barrier around an area of your canvas before you flood it with color.
Step 4: Shading and Highlights
Now is the time to bring depth to your work. Create new layers above your color fills for shading and highlights. Adjust the opacity of your brush and layer to meld colors in subtle ways, and use blend modes to make shadows and light play off each other.
By following these elemental steps, you can start to see the magic of coloring in Procreate take shape. But remember, every wizard must craft their own spells—so practice, experiment, and above all, enjoy the enchanting process of bringing your digital art to life.

