
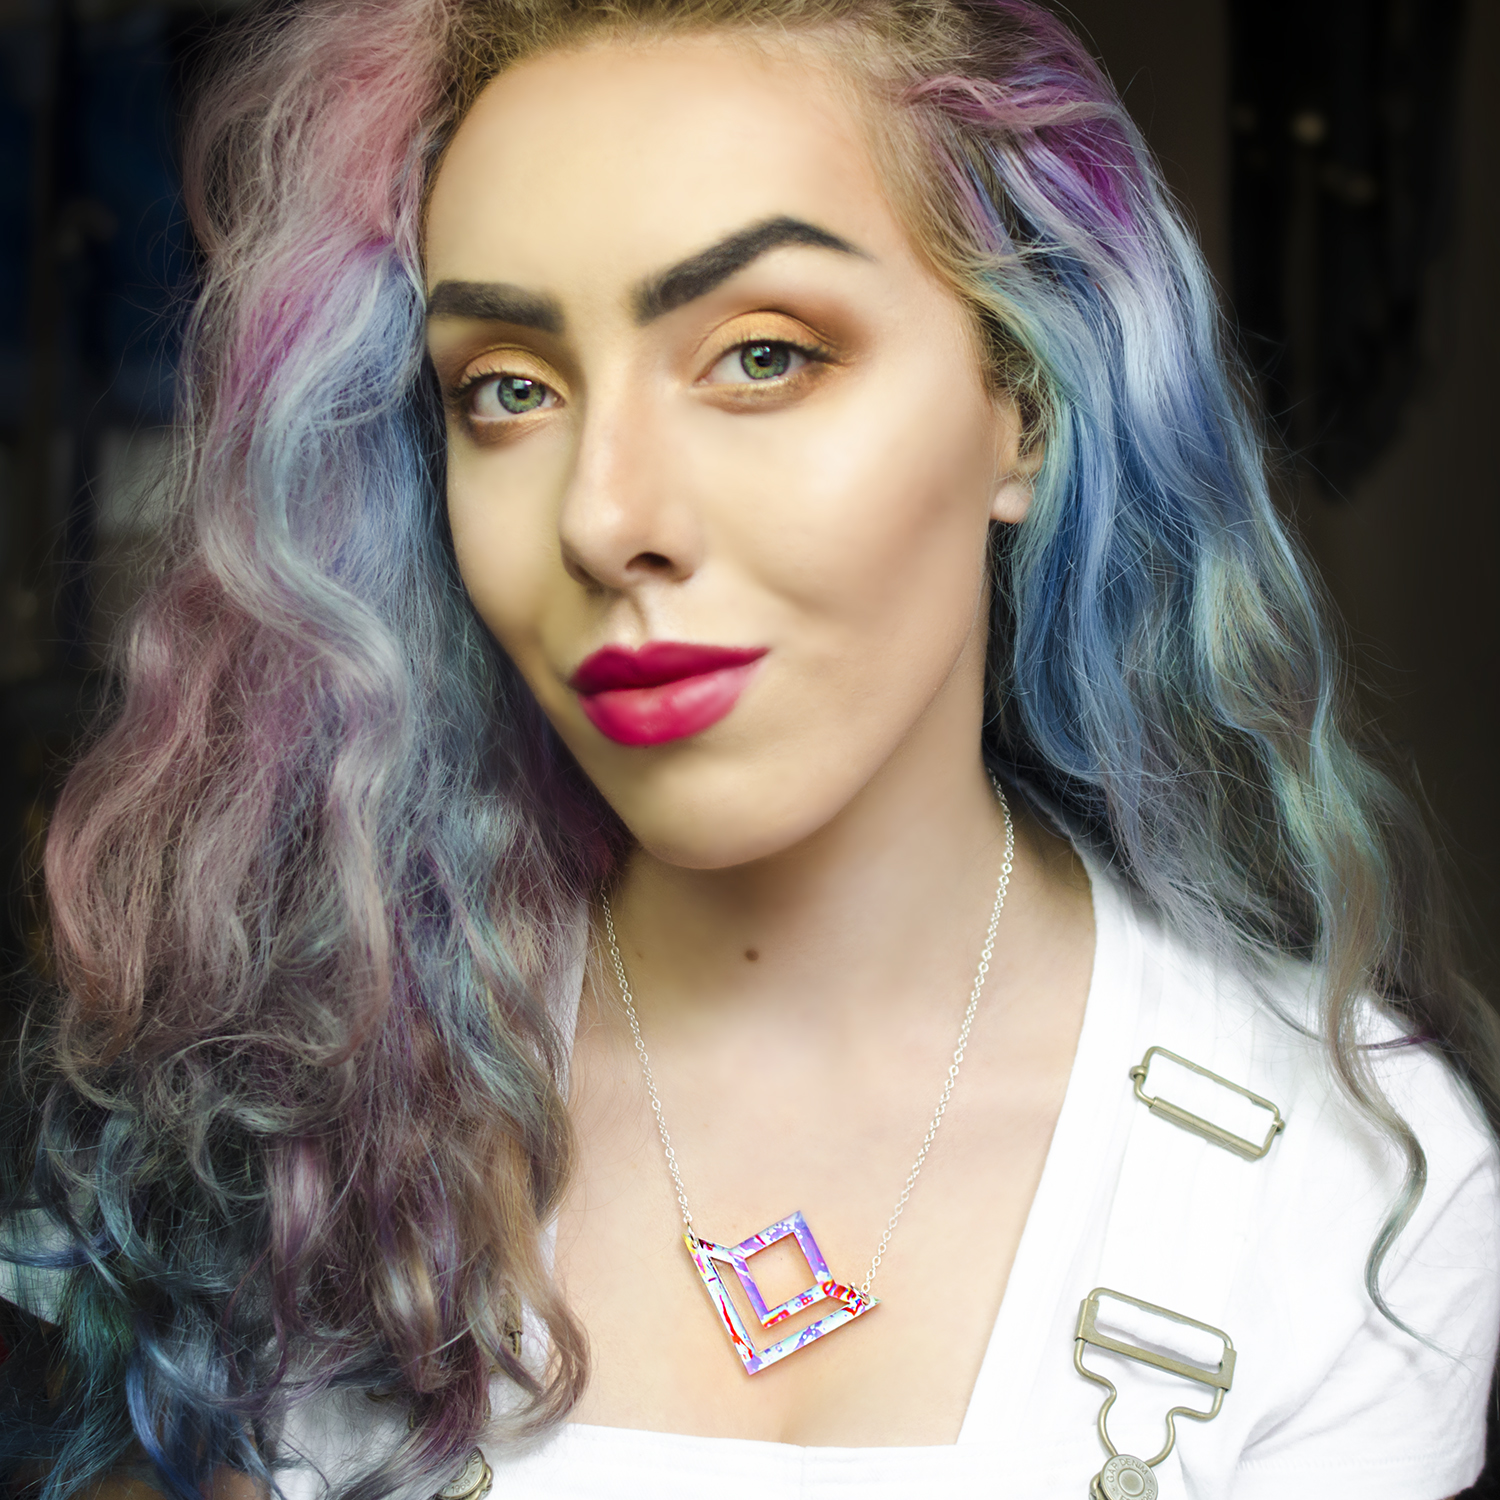
Summer glow is my new favourite look right now, and having a subtle look that can be built up keeps creeping back into my makeup routine. So todays post is how to get dewy glowing makeup.
GLOWING MAKEUP TUTORIAL
Photos and words by Stephi LaReine
When achieving a shiny finish that lasts all day I’ve found the best method in which to sustain it’s vibrance from the second you’ve applied it to the end of your day is all in the base and being selective about your products. This look has been proven to last from 7am-12am, which is miraculous with my oily skin, and I found there was no need to touch up with powder or wipe excess oil. I’ll be walking you through what products I’ve found to be the best for a dewy finish that seems to be trending lately.
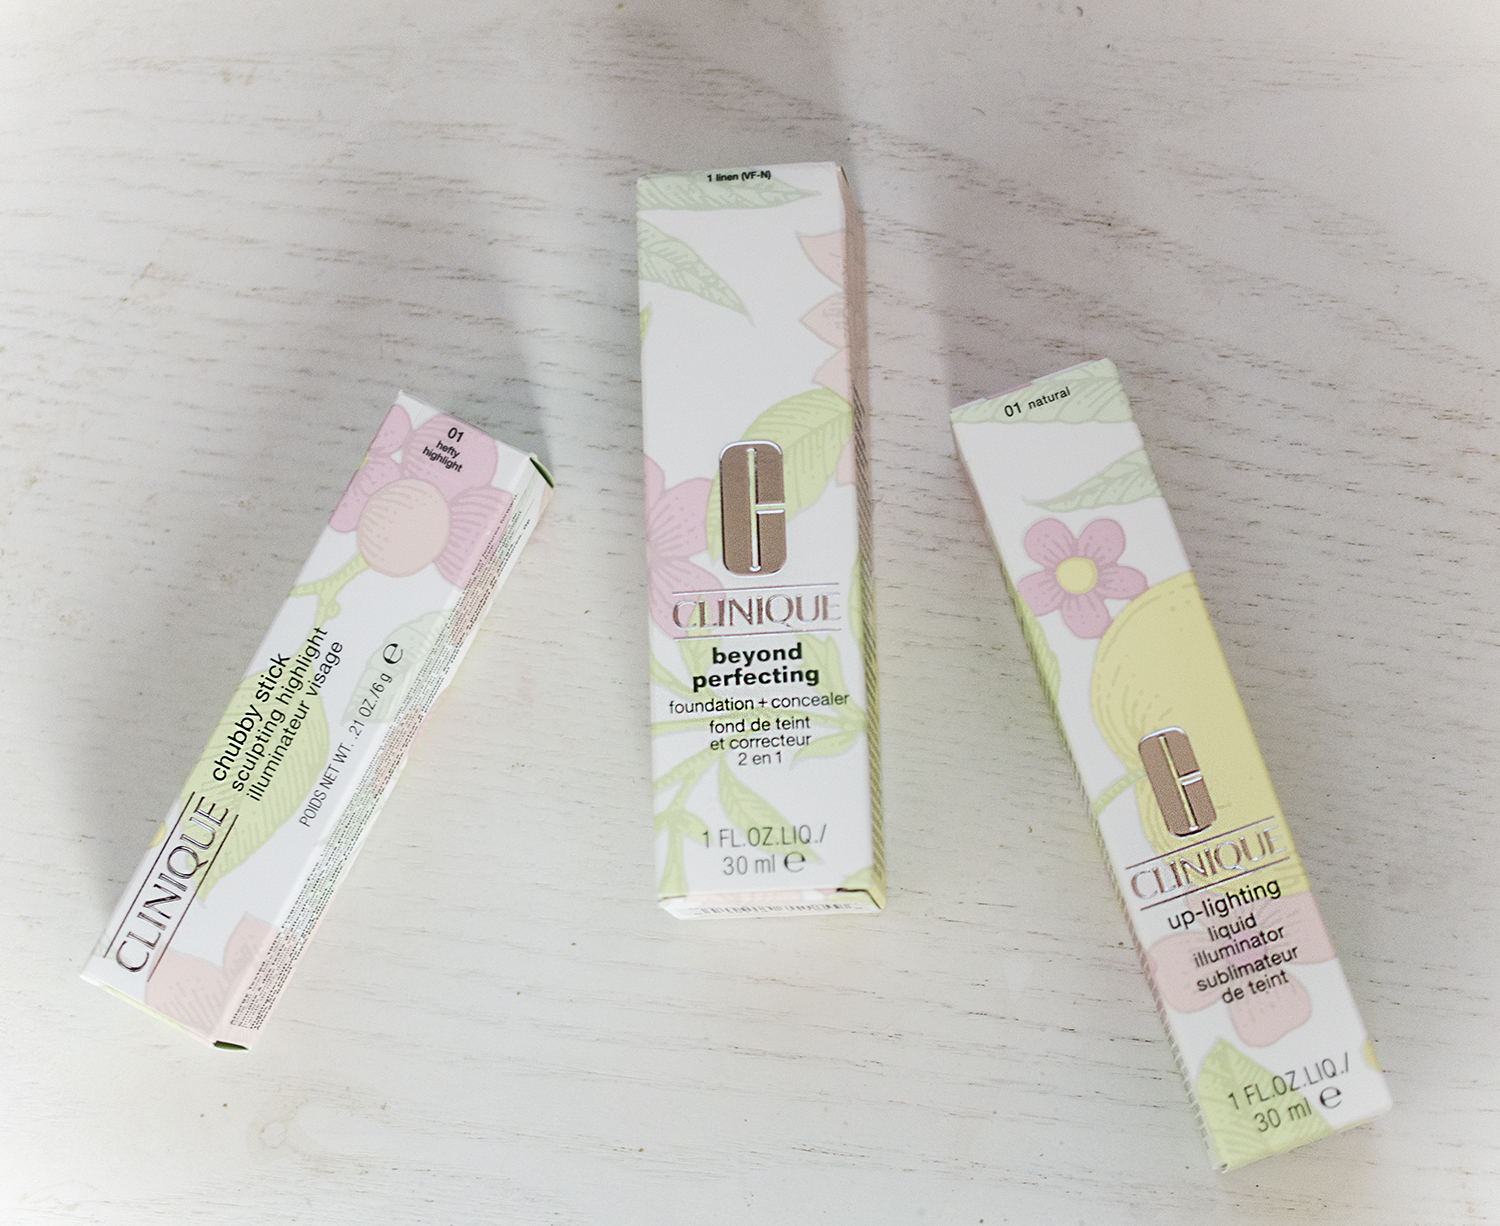
I have three staple products in this look that need a significant shout out and needs more recognition in the beauty industry. The fantastic aspect about application is that is takes no more than 10 minutes (at a nice sauntering pace) or 5 minutes for busy working bees.
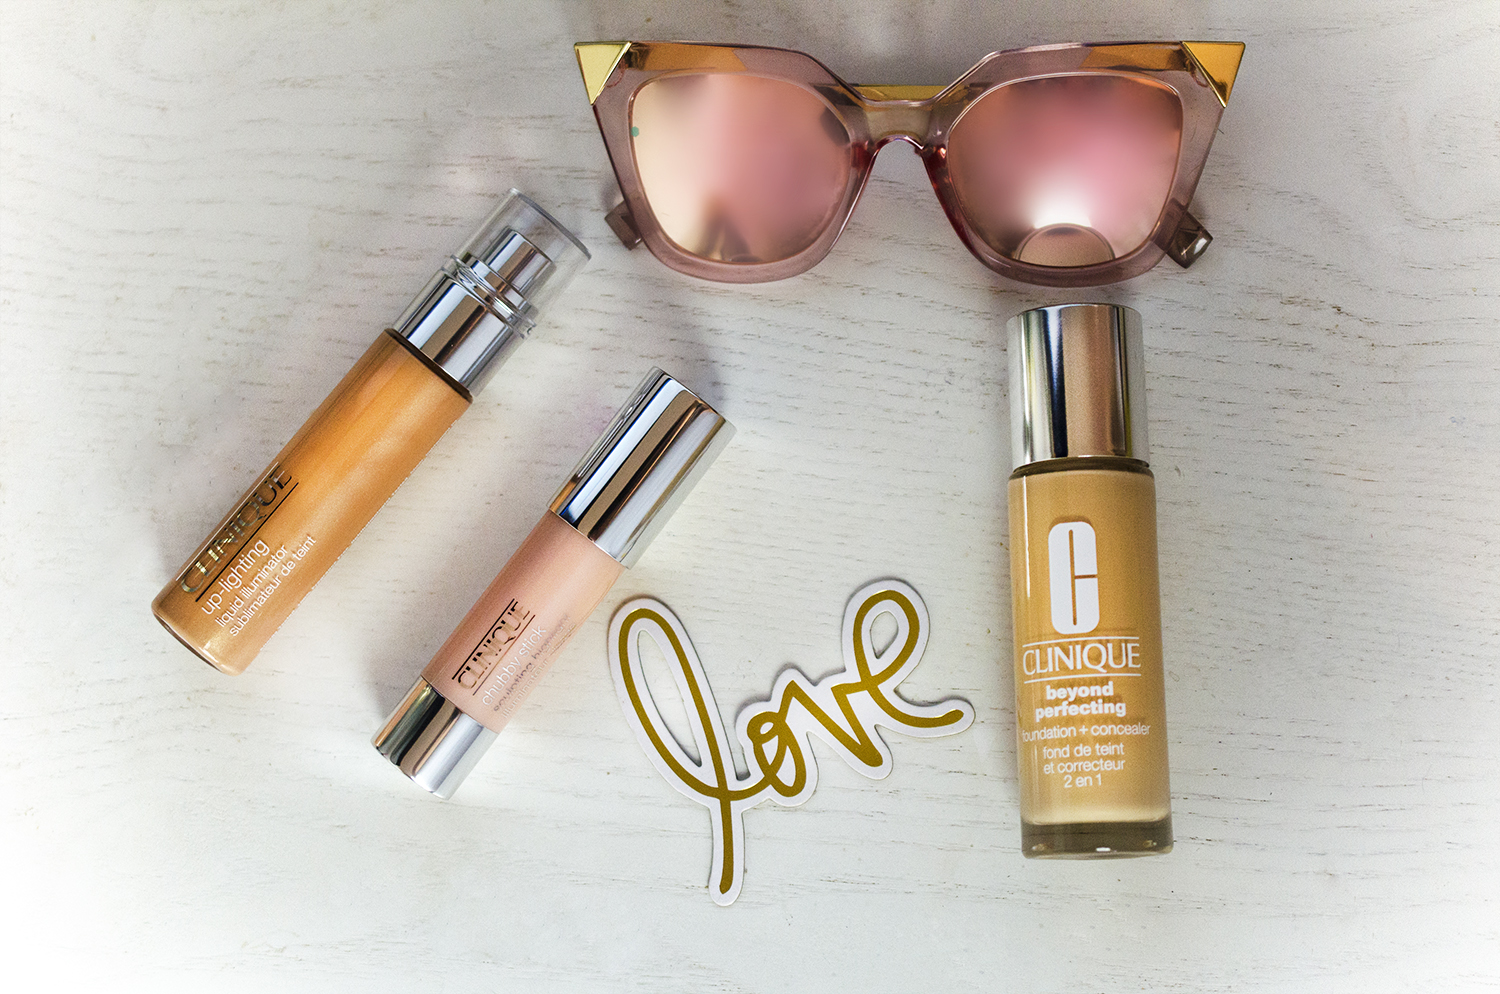
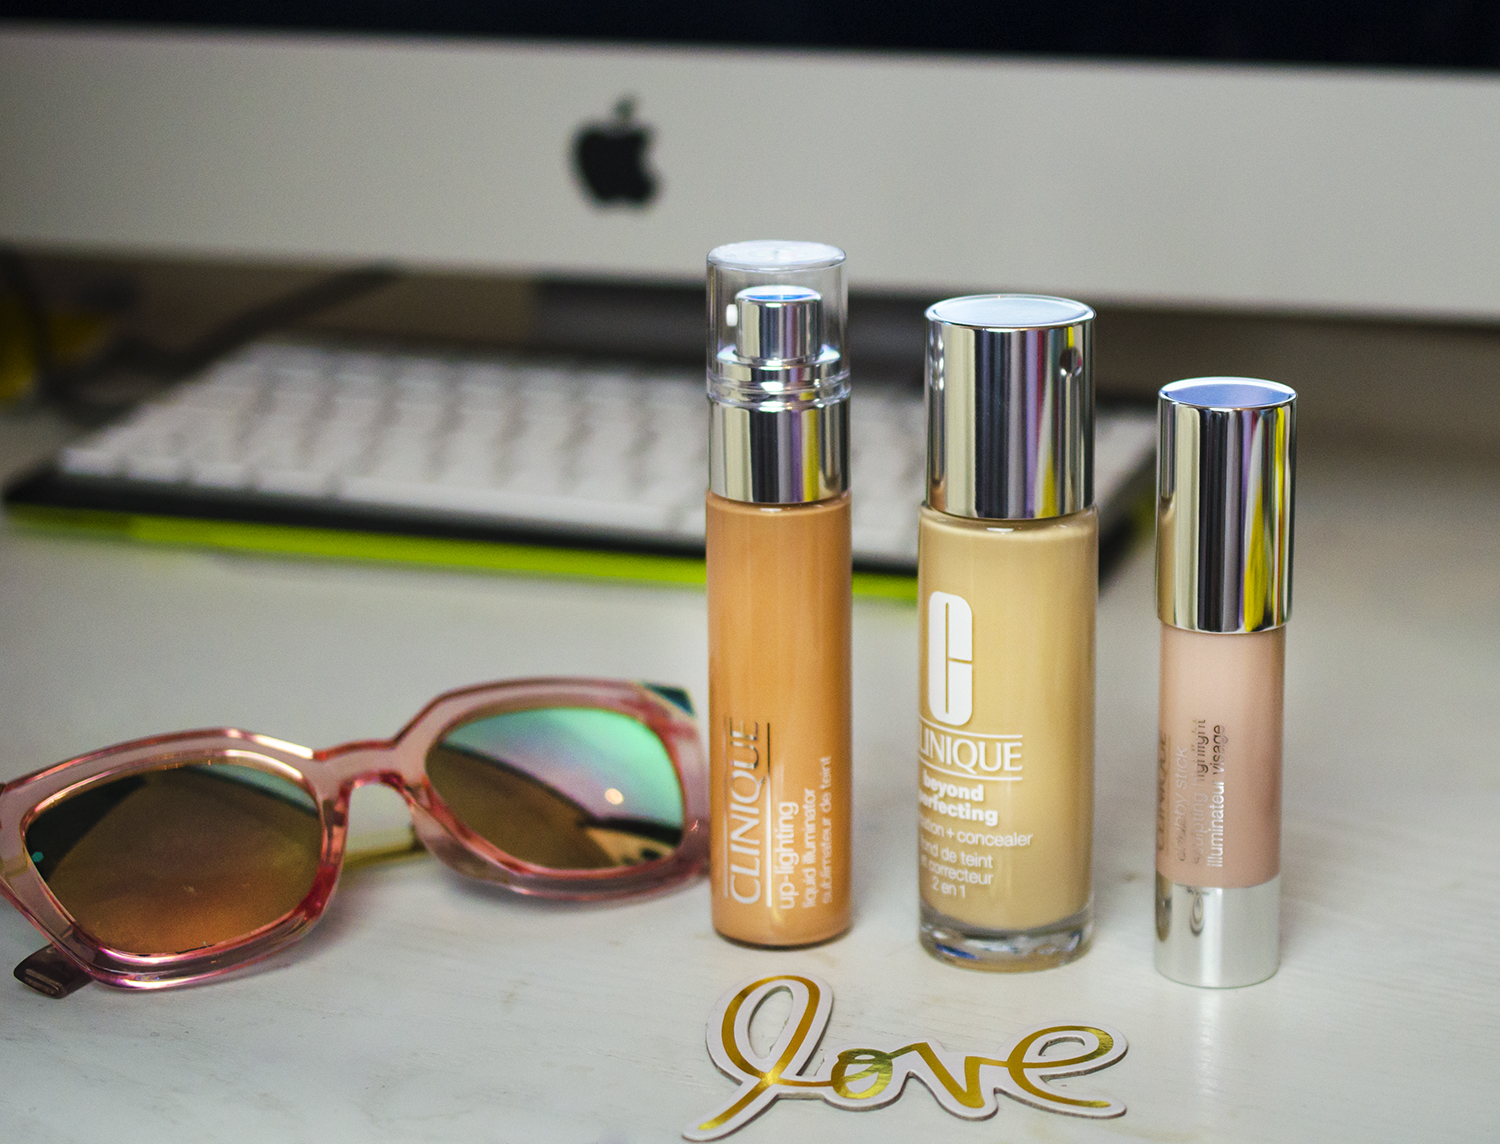
My glowy skin products are Clinique’s Up-Lighting Liquid Illuminator in Bronze, the Clinique Chubby Stick Sculpting Highlight in Hefty Highlight and Clinique’s Beyond Perfecting Foundation and Concealer.
All products listed above do a miraculous job at sustaining oil levels for a liquid makeup look that doesn’t wipe.
To achieve this look I started off with applying Clinique’s Up-Lighting Liquid Illuminator to all areas I wanted to brighten up and illuminate. So my choice of areas were on my forehead, on the brow bone, the tops of my cheek bone, down my nose and above the cupids bow on my lips. By highlighting these areas of my face I have little need to contour my cheeks as its vibrancy shines through the skin and catches the light to seem more plumped and dewy. I applied this product with my foundation brush by buffing it into my skin to soften – but can be left heavier looking for an even brighter flawless effect, which I would usually incorporate into a routine for a night out, or a special event. But as this is for a natural glow with very little eye or lip product I preferred a glow that is more subtle.
Directly after application I used the Beyond Perfecting Foundation and Concealer, using the application brush to draw a series of lines under my eyes, down the sides of my nose, streaking horizontally across the jaw, with a few lines down my neck, with a little amount of product on my forehead and cheeks. Using the same foundation brush the two in one product is blended softly using a fluffy brush into my face using flicks of the wrists in opposition to hard blending.
Finally finishing the look with a few streaks of the Chubby Stick Hefty Highlight. Lightly brushing the stick just below the cheekbones, down the sides of my nose and on my cupids bow for extra sheen. I prefer to leave this product unblended as the application was light so therefore undetectable and precisely applied to be the top layer of all product.
As with all my makeup I brush on a light film of transparent powder to set the look, I say light because powder can easily mattify any hard work highlighting and look caked. The product does a fantastic job at clinging to the face and is relatively touchable without shifting which is very ideal in my makeup routine if I recieve a kiss from my boyfriend or move my hair from my face it simply won’t budge for the day. Let me know some of your makeup routine tips or products I’d love to hear them!

